Table of Contents
- Food Mill vs Grain Mill: What’s the Difference
- How to Grind Grains at Home Without a Food Mill
- Best Grain Mill for Home Use: Electric Alternatives
- Comparing Crush Size and Consistency by Method
- How to Store Whole Grains Long Term
- Which Grains Work Best With Each Method
- Safety Considerations and Appliance Care
- Frequently Asked Questions
Last Updated: October 6, 2026
Food Mill vs Grain Mill: What’s the Difference
A food mill and a grain mill serve different purposes in the kitchen, though the names sound interchangeable, and understanding food mill alternatives grains requires knowing these distinctions. A food mill is a manual kitchen tool designed to press soft foods like cooked vegetables, fruits, and legumes through a perforated disk, creating a puree or smooth consistency.
The distinction matters when you’re working with whole grains. Food mills struggle with hard, dry ingredients because their design prioritizes gentle pressing over aggressive grinding. Grains are dense and require sustained force or high-speed impact to break down properly. A food mill might jam or produce inconsistent results with wheat berries, oats, or malt.
Many home cooks ask whether a food mill can substitute for a grain mill. The honest answer is no, not reliably. However, several other kitchen tools can crush grain effectively when you don’t have a dedicated grain mill.
The key difference: food mills press soft foods into puree; grain mills crack or grind hard ingredients. Confusing the two leads to frustration and potentially damaged equipment. Know which tool matches your task before you start.
How to Grind Grains at Home Without a Food Mill
Grinding grains at home without a dedicated mill is entirely possible. The method you choose depends on three factors: the type of grain, the crush size you need, and the equipment already in your kitchen. Most home cooks can achieve good results with common appliances or manual tools.
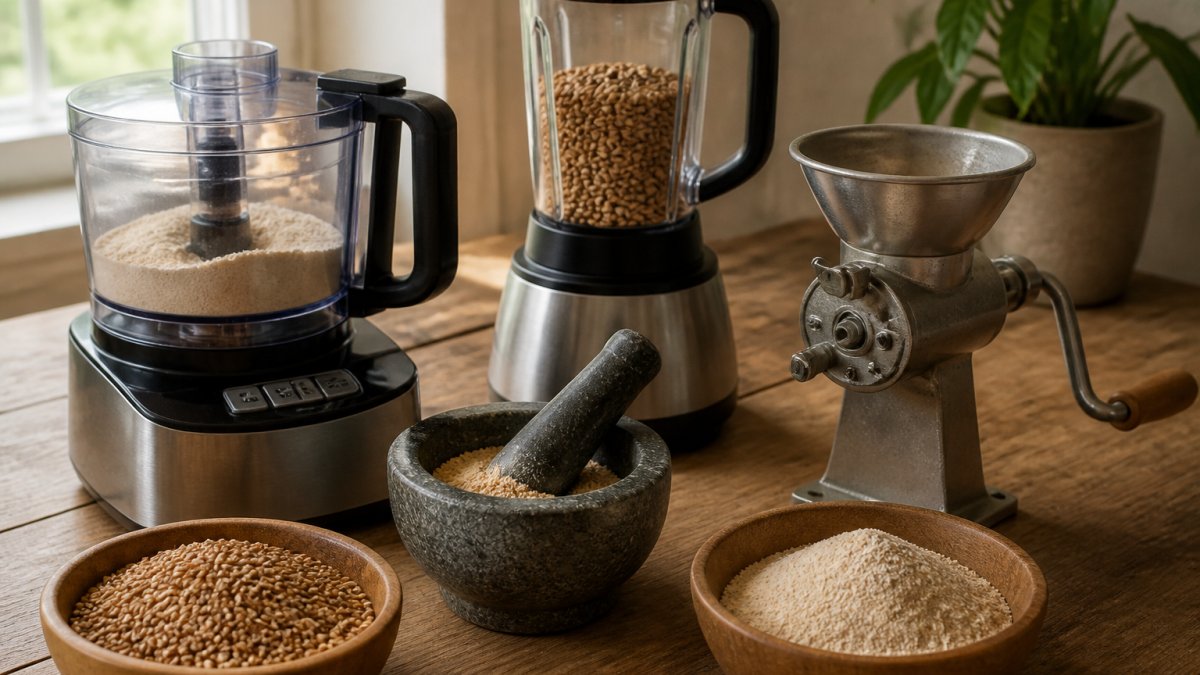
Food Processor Method
A food processor is one of the most accessible alternatives for crushing grains at home. The sharp blade attachment chops and pulverizes grain into smaller pieces through rapid rotation.
The process is straightforward: fill the bowl halfway with whole grains, secure the lid, and pulse in short bursts. Continuous grinding generates heat, which can damage sensitive grains and reduce nutritional value. Pulsing gives you more control over crush size and keeps the grain cooler.
Food processors work best for grains you plan to use in baking or brewing. The texture is uneven compared to a true grain mill, but acceptable for most home applications. One limitation: capacity. Most food processors hold 2-3 cups of grain comfortably. Large batches require multiple runs.
Clean the bowl and blade immediately after use. Grain dust can stick to the plastic interior and harden, making cleanup harder later.
Blender Method
A high-powered blender can grind grains, though results depend on motor strength and blade design. Blenders with variable speed settings and durable glass or plastic containers work better than basic models.
Start with a low speed and increase gradually. High speed from the start can jam the blades or overheat the motor. Grind in short pulses rather than continuous operation. Most grains reach a coarse flour texture within 30-60 seconds of pulsing.
Blenders excel at grinding soft grains like flaked oats or pre-cracked grains. Hard grains like whole wheat berries require patience and multiple pulses. The crush size tends to be less uniform than a food processor, with some fine flour mixed alongside coarser particles.
Heat buildup is a concern with blenders. The friction from rapid blade rotation can warm the grain noticeably. If you’re grinding grain for brewing or raw consumption, allow the blender to cool between batches.
Mortar and Pestle Method
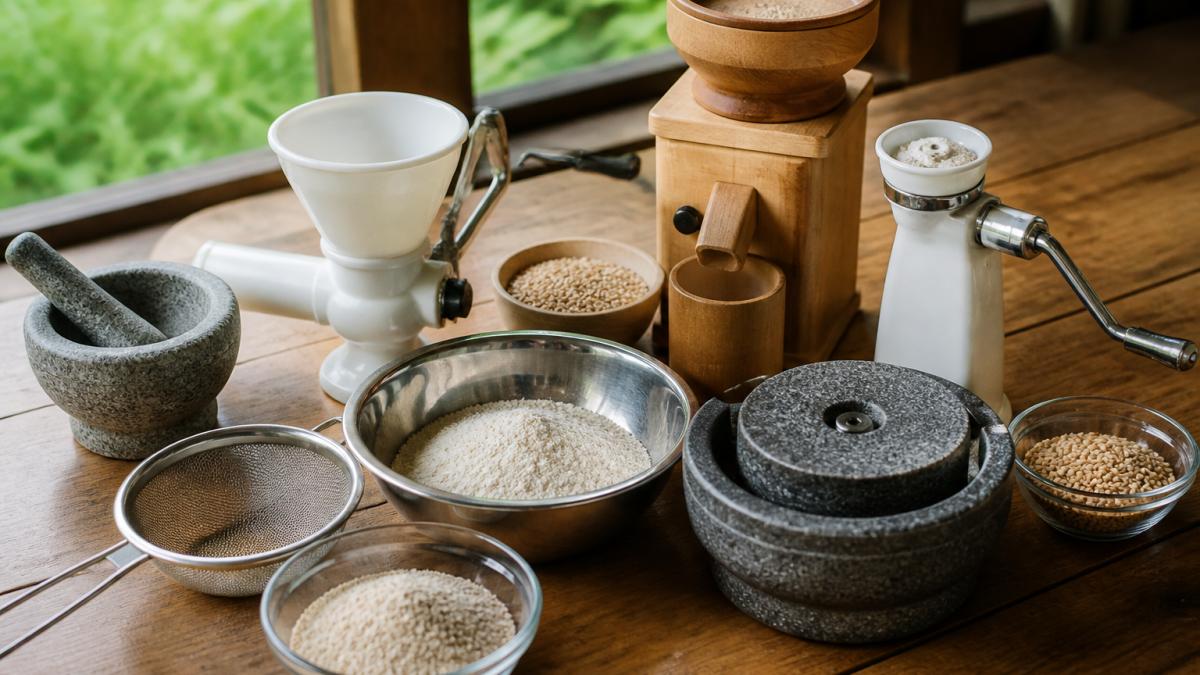
A mortar and pestle is a manual, low-tech solution that works surprisingly well for small quantities of grain. The heavy pestle crushes individual grains against the hard bowl surface through downward pressure and grinding motions. This method gives you precise control over crush size and generates minimal heat.
The trade-off is time and effort. Grinding one cup of wheat berries by hand takes 10-15 minutes of sustained work. For small batches or occasional use, this is acceptable. For regular grinding or large quantities, manual methods become impractical.
Mortar and pestles work best with softer grains like oats, flaked corn, or chickpeas. Very hard grains like whole wheat require significant elbow grease. The texture is coarser and more irregular than machine methods, which suits some applications like brewing or coarse cornmeal for cooking.
Choose a mortar and pestle made from dense stone or ceramic. Lighter materials may crack under the pressure needed to crush hard grains.
Manual grinding methods like mortar and pestle give you control and preserve grain temperature, but demand physical effort. Machine methods are faster but risk overheating sensitive grains.
Manual Crushing Methods
Beyond mortar and pestle, other manual techniques can crush grain in a pinch. Placing grain in a sturdy plastic bag and striking it with a rolling pin, hammer, or mallet breaks down the kernel structure through impact. This method produces highly irregular crush sizes and requires careful technique to avoid scattering grain across your kitchen.
Another approach uses a grain bag, a heavy cloth sack designed to hold grain while you pound it. The bag contains the grain and allows you to apply force without mess. Results are coarse and uneven, but functional for brewing applications where exact crush size matters less.
Manual crushing methods work best for small quantities and when you need coarse, cracked grain rather than fine flour. They require no electricity, minimal cleanup, and zero equipment beyond what most kitchens already have.
Best Grain Mill for Home Use: Electric Alternatives
When you decide a dedicated electric grain mill is worth the investment, several options exist. Electric mills fall into two categories: impact mills and stone mills. Impact mills use high-speed blades or hammers to shatter grain quickly, producing fine flour fast. Stone mills use rotating stones to crush grain slowly, generating less heat and preserving more nutritional value.
Impact mills excel when speed and fine texture are priorities. They’re typically more affordable than stone mills and require less storage space.
Stone mills grind grain more gently. The slower process preserves heat-sensitive nutrients and produces flour with better baking properties. Stone mills cost more and take longer, but many serious home bakers prefer the results.
A grain mill attachment offers a middle path for people who already own compatible equipment. The attachment mounts to the mixer’s motor, using the existing power source. This approach saves space and money if you already have the base unit.
| Mill Type | Speed | Texture | Heat Generation | Best For |
|---|---|---|---|---|
| Impact Mill (NutriMill Classic) | Fast (minutes) | Fine flour | Higher | Quick baking, volume grinding |
| Stone Mill | Slow (20+ minutes) | Varied coarseness | Lower | Nutritional preservation, artisan baking |
| Grain Mill Attachment (KitchenAid) | Medium | Medium-fine | Medium | Existing KitchenAid owners |
Comparing Crush Size and Consistency by Method
Crush size determines how your ground grain performs in brewing, baking, or cooking. Different methods produce different textures, and matching the method to your intended use matters.
Food processors create medium-coarse to fine flour with uneven particle sizes. Some grains pass through as powder while others remain chunky.
Blenders produce results similar to food processors: medium texture with high variability. Blender grinding tends slightly toward finer flour than food processor grinding, but consistency remains uneven.
Mortar and pestle grinding produces very coarse, irregular crush. Particles vary widely in size.
Manual crushing with bags or mallets creates extremely coarse, chunky pieces. Ideal for brewing applications where you want to preserve kernel structure and maximize surface area for water contact.
Electric mills offer the most consistent results. Impact mills produce uniform fine flour reliably. Stone mills create more varied textures depending on mill setting, but the variation is controlled and repeatable.
How to Store Whole Grains Long Term
Proper storage preserves grain quality and extends shelf life significantly. Whole grains stay fresher longer than ground grain because the intact kernel protects the nutrient-rich interior from oxidation and moisture damage.
Store whole grains in airtight containers in a cool, dark place. Glass jars with tight lids, plastic buckets with sealed tops, or vacuum-sealed bags all work well. Avoid containers that allow light penetration or air circulation.
Temperature matters. Grains stored at room temperature keep for 6-12 months. Cool storage (below 60°F) extends shelf life to 2-3 years or longer.
Moisture is the enemy of grain storage. Whole grains should contain less than 12% moisture before storage. Dry grains in a low-humidity environment before sealing containers.
At Allstarhealth, we understand that building a nutritious pantry starts with sourcing quality whole grains and storing them properly. Our curated selection of organic grains and ancient varieties gives you the foundation for healthy cooking and brewing.
Which Grains Work Best With Each Method
Not all grains behave the same way under different grinding methods. Understanding grain characteristics and exploring food mill alternatives grains helps you choose the right tool.
Soft grains like rolled oats, flaked corn, and chickpeas grind easily with any method. Food processors, blenders, and mortar and pestle all work well.
Medium-hardness grains like rye, barley, and malt respond well to food processors and blenders. These grains crack and break down under blade action without requiring excessive force.
Hard grains like whole wheat berries, spelt, and kamut challenge manual methods. Mortar and pestle grinding is slow and tiring. Food processors and blenders handle them better.
Oats present a special case. Rolled or flaked oats grind quickly in any appliance. Whole oat groats are harder and benefit from food processor or blender treatment.
Malt grains, used in brewing, need consistent coarse crushing. Food processors produce acceptable results. Blenders can work but tend toward finer textures than brewers prefer.
Never grind moist grains or grains that have absorbed humidity. Moisture clogs blender blades, jams food processor bowls, and damages mortar and pestle surfaces. Always work with completely dry grain.
Safety Considerations and Appliance Care
Grinding grain puts stress on kitchen appliances not designed for sustained grinding. Understanding limitations prevents damage and keeps you safe.
Food processors can overheat if you grind continuously for more than 30-60 seconds. The motor draws more current than typical chopping tasks demand.
Blenders face similar heat concerns. High-speed grinding generates friction that warms the motor and container. Start at low speed and increase gradually.
Grain dust is a hidden hazard. Fine particles suspended in air can irritate lungs if inhaled repeatedly.
Never attempt to grind grain in appliances with dull blades.
For dedicated grain mills, follow the manufacturer’s maintenance schedule. Stone mills need periodic truing (reshaping) to maintain grinding efficiency.
Store all grain-grinding equipment in dry conditions. Moisture promotes rust on metal parts and mold growth on grain residue.
Choosing the right method to crush grain at home depends on your needs, equipment, and the type of grain you’re working with.
At Allstarhealth, we supply the high-quality organic grains that deserve proper preparation. Whether you’re building a pantry for ancient recipes, brewing applications, or everyday cooking, our curated grain selection pairs perfectly with whichever grinding method works best for your household.
Frequently Asked Questions
Can you use a food mill to grind grains?
A food mill is not designed for grinding grains. Food mills work by pushing soft or cooked foods through small holes using a rotating disk, which works well for tomatoes or berries but can damage the mill or jam when you attempt to process hard, dry grains. For grain crushing, use a food processor, blender, dedicated grain mill, or manual methods instead.
What is the difference between a food mill and a grain mill?
A food mill uses a rotating mechanism to press soft foods through a perforated disk, handling cooked vegetables and fruits. A grain mill uses grinding stones or high-speed impact blades to crush hard, dry grains into flour or cracked grain. Grain mills are built to handle the density and hardness of whole grains, while food mills are not.
Can a blender grind whole grains into flour?
Yes, a blender can grind whole grains into flour, but results depend on your blender’s power. High-powered blenders work best for this task. Process grains in small batches, start on low speed, and gradually increase to avoid overheating the motor. Softer grains like oats process more easily than hard grains like wheat berries. For consistent fine flour, a dedicated grain mill produces better results.
How do I choose a grain mill for home use?
Consider whether you need fine flour or coarse cracked grain. Stone mills produce fine flour slowly and run cool, ideal for preserving nutrients. Electric impact mills grind fast and produce fine flour quickly but generate heat. Decide on capacity based on household size, frequency of use, and storage space. Evaluate noise level, ease of cleaning, and whether you need adjustable grind settings for different grain types.